notice
This is documentation for Rasa X Documentation v0.34.x, which is no longer actively maintained.
For up-to-date documentation, see the latest version (1.1.x).
Deploy Your Assistant
When to Deploy
As emphasized in the guide to sharing your assistant, it’s important to give your prototype to users to test as early as possible. To do so, you need to deploy your assistant to one or more channels.
Share Your Bot Deployment
Share your bot is one of two built-in channels in Rasa X, the other being Talk to your Bot. You should deploy your bot to guest testers using the Share your bot feature in Rasa X as soon as you have a minimum viable assistant (a basic assistant that can handle the most important happy path stories).
Share your bot makes it easy to share your assistant without having any external channels connected. It therefore makes sense to deploy your assistant via the Share your bot feature before sharing it on any other channel.
note
If you are using Rasa X in local mode, you will need to use ngrok to make
your bot available to users on other machines. See the guide on
Sharing your bot in localmode and
Testing Channels on your Local Machine with Ngrok
for more information.
External Channel Deployment
You should deploy your assistant to external text or voice channels once you’ve done a first round of testing using Rasa-X’s built in channels. An external channel introduces some additional complexity, which is easier to troubleshoot and test once you have some idea of how your assistant behaves.
Before You Deploy
The most successful product teams using Rasa apply software engineering best practices to developing their assistants, including:
Versioning training data and action code in Git
Reviewing changes before they go into production
Running automated tests on proposed changes
Although not absolutely necessary to deploy your assistant, it is highly recommended that you set up Integrated Version Control and initial CI/CD before deploying your assistant.
If you already have a running Rasa Open Source deployment and you just want to connect it to Rasa X, see the Connect an Existing Deployment.
Integrated Version Control
Integrated Version Control encourages best practices by integrating itself into your existing development workflows. It lets you automate data synchronization with your Git repository, annotate new data and push those changes with Git.
In order to connect Rasa X with your assistant’s Git repository, you will need two things:
A Rasa X instance running in server mode (local mode does not support Integrated Version Control)
A Git repository containing a project in the default Rasa Open Source project layout
caution
When you connect your remote Git repository to Rasa X it will overwrite the training data which is currently stored in Rasa X. Please use a fresh Rasa X instance or export your training data if you want to keep the old training data.
Project Layout
For Rasa X to correctly visualize and modify your AI assistant’s data, your project needs to follow the default Rasa Open Source project layout created by rasa init:
Connect a Git Repository
You can connect your Git repository via the Rasa X UI.
note
If you prefer to provide your own SSH keys, please see Integrated Version Control: Connecting a Repository via the API.
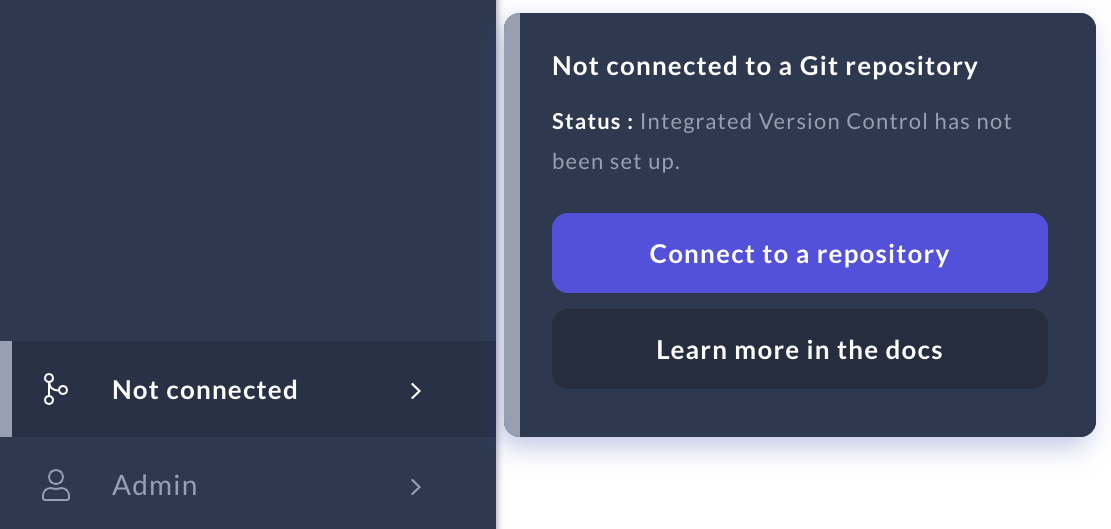
To connect your Git repository, click on the branch icon and click Connect to a repository.
Configure the repository connection.
Rasa X can connect to a git repository via an SSH URL. Rasa Enterprise can connect over either SSH or HTTPS, and supports two-factor authentication for HTTPS connections.
- SSH
- HTTPS (Enterprise only)
Add your SSH URL for repository in the input field.Configure your credentials.
- SSH
- HTTPS (Enterprise only)
Add the provided public SSH key to your Git server. This allows Rasa X to authenticate with the Git server using its private SSH key. Please make sure to only give the key access to one specific repository instead of giving it global access to all of your Git repositories. For instructions specific to your Git platform, see below.
GitHub:
Add the generated public SSH key as aDeploy keyto your GitHub repository. See the GitHub docs for more information on how to do so.
GitLab:
Add the generated public SSH key as aDeploy keyto your GitLab repository. See the GitLab docs for more information on how to do so.
Bitbucket:
Add the generated public SSH key as anAccess keyto your Bitbucket repository. See the Bitbucket docs for more information on how to do so.Configure the repository branch.
Target branch: The target branch is the branch that Rasa X will:
Use to show the initial data.
Branch off from when you make new changes.
Return to after you discard or push changes.
By default users can choose if they want to push their changes directly to the target branch or to a new branch. If want to disable pushing changes directly to the target branch, select Require users to add changes to a new branch.
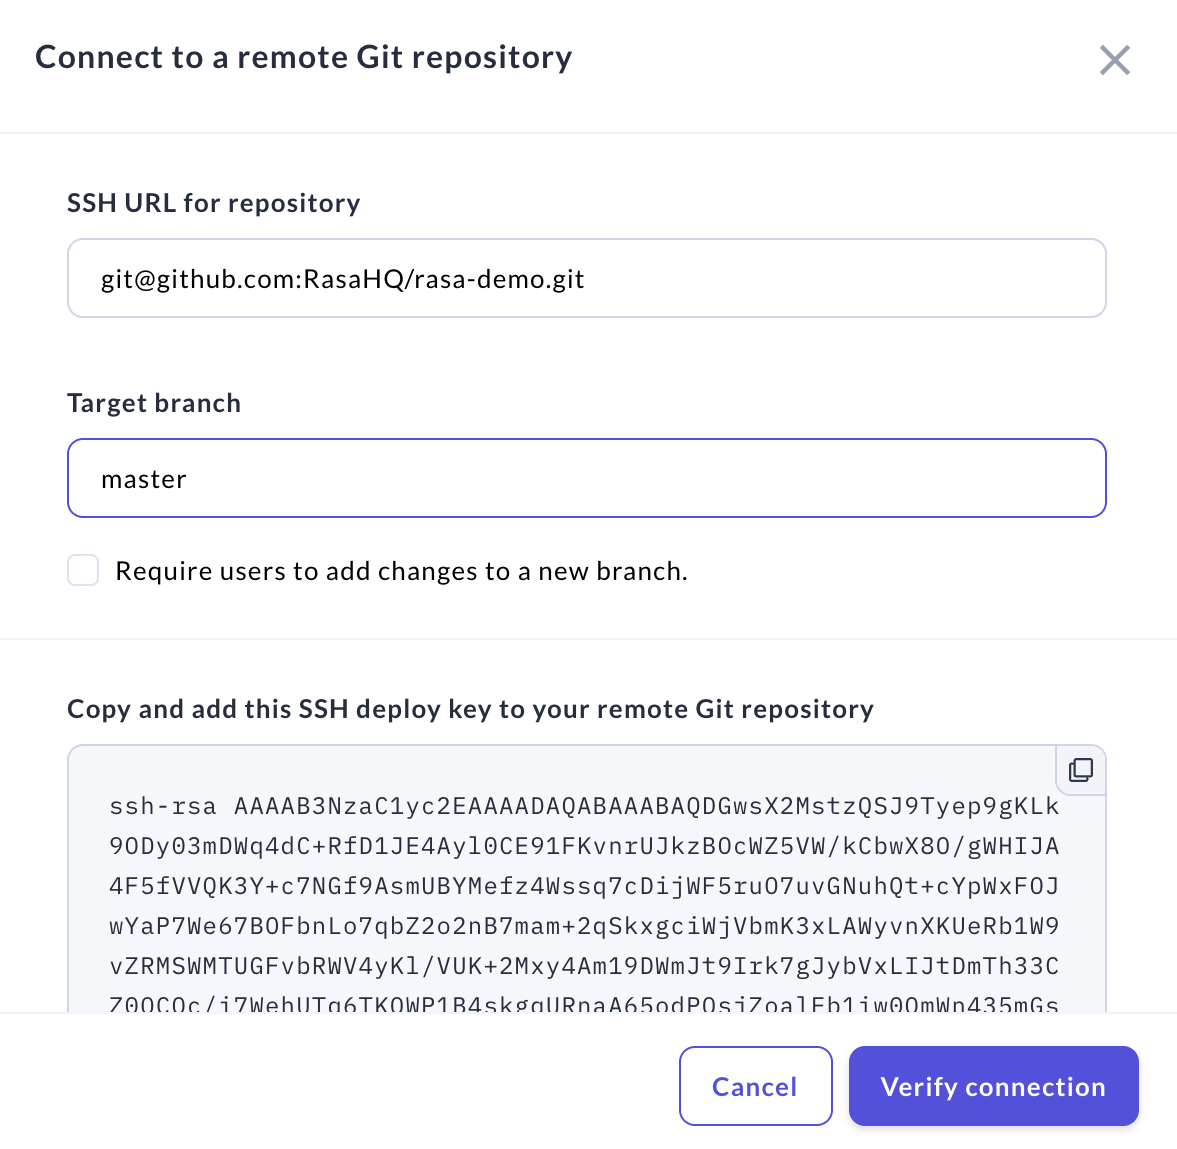
Once you have configured the repository credentials and the branch options, hit the
Verify Connectionbutton. Rasa X will now show that it is connected to your repository.
Set Up Initial CI/CD
When improving your assistant, you’ll make different kinds of fixes to your bot. To automate the testing and integration of these improvements into your deployed assistant, you should set up a CI/CD (Continuous Integration/Continuous Deployment) pipeline on your connected git repository.
For example, you could add a step in your pipeline that pushes a newly trained model to Rasa X everytime a change is merged into your master branch. For more information on setting up a CI/CD pipeline, check out the Rasa Open Source user guide on CI/CD.
Here are a few examples of CI/CD pipelines in Github Actions to get you started:
The rasa-demo CI/CD pipeline includes the following steps; some are conditional:
Lints and type-tests the action code
Validates the data
Runs NLU cross-validation
Trains a model
Tests the model on test conversations
Builds and tags an action image
Pushes the action image to a private Google Cloud Container Registry
These two examples include some of the steps above, but with fewer conditions:
How to Deploy
To deploy your assistant using Rasa X you need to:
Train or upload a trained model and tag it as active/production
Connect your custom action server if you’re using any custom actions
Set up your external channels when you want to make them available
If you already have a running Rasa Open Source deployment and you just want to connect it to Rasa X, see the guide here.
Train/Upload a Model
You can upload a model to Rasa X either using the UI, or
using the HTTP API.
If you have Integrated Version Control set up, you can also train a model from within Rasa X.
To deploy your trained model, you need to tag it as active (Rasa X) or production (Rasa Enterprise).
Once you have a model available on the Models screen, you can either tag the model using the UI, or
tag it via the HTTP API.
Note that for both Rasa X and Rasa Enterprise, you need to use the production tag when tagging via the HTTP API.
In the long term, you should consider automating training, uploading, and tagging a model as part of a CI/CD pipeline.
Connect Your Custom Action Server
If you have written any custom actions, you need to connect your action server to your Rasa X deployment. Follow the instructions for the installation method you used:
Quick Install (see
ACTION_SERVER_IMAGEandACTION_SERVER_TAG)
Connect External Channels
For details on setting up external channels, see the Rasa Open Source docs.
Once set up, connecting an external channel is a matter of adding the credentials in the right place for the installation method you used:
Quick-Install (see
ADDITIONAL_CHANNEL_CREDENTIALS)
Connect an Existing Deployment
If you’re already running a Rasa Open Source deployment, you can connect it to Rasa X to annotate conversations - even if it’s running on a separate system.
To achieve this, you have two options:
Import historical conversations from your Rasa Open Source deployment into Rasa X
Automatically forward all new incoming messages directly from Rasa Open Source to Rasa X
1. Import Existing Conversations from Rasa Open Source
In order to annotate conversations users have already had with a live Rasa Open Source deployment, you can import conversations from your current tracker store into Rasa X.
Rasa Open Source Event Broker Configuration
Open the .env file in your Rasa X installation directory (/etc/rasa by
default) and make a note of the entry for RABBITMQ_PASSWORD.
If you’ve deployed Rasa X in a cluster using Helm, Kubernetes or OpenShift, check out
Accessing Secrets.
Enable your RabbitMQ service to receive events from a different server by following Exposing the RabbitMQ Port. Make a note of the exposed IP address.
Now go to your Rasa Open Source deployment and note down the following values used in your Rasa tracker store: the database username, the database password and the name of the database.
On the same machine in a different directory, or an a different machine, create a new
file called endpoints.yml (alternatively you
can go to your project directory in your Rasa Open Source deployment and modify the
existing endpoints.yml there).
Have a look at Exposing the Database Port to make your database accessible from the outside world if you’re working on a different machine than your Rasa Open Source deployment.
In this file, create two sections defining the tracker store from which
to import conversations, as well as the event broker that’s used to move the
conversations from your Rasa Open Source deployment to Rasa X. You will forward
historical events in your Rasa Open Source deployment to the Rasa X
event broker.
RabbitMQ is used as the message broker for Rasa X, so we will use the
Pika
Python configuration in the Rasa endpoints.yml.
Create the following two entries in endpoints.yml:
Migrate Conversations
You can use Rasa’s rasa export command-line tool to export conversations from the
tracker database to an event broker. From there, your running Rasa X deployment will
consume the events and save them to your Rasa X database.
Head to the same directory as your endpoints.yml file from above. To export all
conversations contained in the tracker database, simply run
The rasa export command allows you to specify a subset of conversation IDs to
export, or restrict the time range of events. Just run rasa export --help for an
overview of options, or check out the Rasa CLI docs on rasa export.
You can now log in to your Rasa X deployment and view the migrated conversations.
2. Connect a Live Rasa Open Source Deployment
This configuration allows Rasa X to monitor conversations taking place in the live Rasa Open Source deployment environment without modifying the deployment architecture.
These instructions assume Rasa Open Source and Rasa X are deployed and running on two separate systems.
Rasa X Configuration
Open the .env file in your Rasa X installation directory (/etc/rasa by
default) and make a note of the following values: RABBITMQ_PASSWORD,
RABBITMQ_USERNAME, RABBITMQ_QUEUE. If you’ve deployed Rasa X in a cluster
using Helm, Kubernetes or OpenShift, check out Accessing Secrets. We
will need these when configuring the event broker on the Rasa Open Source server.
Read the section on Exposing the RabbitMQ Port in order to enable your RabbitMQ service to accept events.
Rasa Open Source Configuration
You need to configure your Rasa Open Source deployment to forward messages to the
Rasa X event broker. The configuration is done in the endpoints.yml file
which can be found in the Rasa project directory. Configure the event_broker
section as described in Rasa Open Source Configuration (you do not need to modify the
tracker store section).
Once you’ve updated the endpoints.yml file, restart the Rasa server.
If verbose logging is on using the --debug option, you should see the
following messages in the Rasa logs indicating that messages are being forwarded to
Rasa X:
You can now log into Rasa X and view conversations from your users as they come in. For further information on what to do with them, check out Review Conversations and Annotate NLU Examples.
Exposing Ports
Exposing the RabbitMQ Port
Before RabbitMQ can accept external events, you need to expose the port to the outside world. Depending on your chosen deployment method, read one of the following sections.
Quick-Install Script or Helm Chart Deployment
Follow these instructions if you’ve deployed Rasa X using the quick-install script, or if you’ve taken the Helm Chart deployment route.
First, find the namespace your deployment is running under. To list the available namespaces, run:
Now, find the name of your RabbitMQ service. Run the following command, looking for
an entry containing -rabbit in the NAME column:
Expose the RabbitMQ service as a load balancer on port 5672 by running:
Make sure the port was exposed by running the following command, checking for an
external IP address assigned to the rabbit-mq-load-balancer service:
Use the IP address listed under EXTERNAL-IP in the event_broker section of your
endpoints.yml. Make sure that your cluster or VM firewall settings allow traffic
to port 5672.
Once you’re done importing historical conversations, or you no longer want to stream events to your Rasa X deployment, you can remove the RabbitMQ load balancer by running:
Docker-Compose Deployment
If you’ve deployed Rasa X using Docker Compose, add the following block to
your docker-compose.override.yml:
Now, restart the RabbitMQ service with the sudo docker-compose restart rabbit
command. Make sure you’ve allowed traffic to port 5672 in your VM firewall.
Exposing the Database Port
If you’re following the steps on importing historical conversations on a machine that’s different from where you’ve deployed Rasa Open Source, you need to make the database accessible from the outside world. How to open your database port depends highly on the way you deployed Rasa Open Source, but following similar steps as in Exposing the RabbitMQ Port is a good idea if you’ve deployed Rasa Open Source alongside a database container using Docker Compose or Kubernetes.