Set Up Integrated Version Control (IVC)
Integrated Version Control
Integrated Version Control encourages best practices by integrating itself into your existing development workflows. It lets you automate data synchronization with your Git repository, annotate new data and push those changes with Git.
In order to connect Rasa X with your assistant’s Git repository, you will need two things:
A deployed Rasa X instance
A Git repository containing a project in the default Rasa Open Source project layout
caution
When you connect your remote Git repository to Rasa X it will overwrite the training data which is currently stored in Rasa X. Please use a fresh Rasa X instance or export your training data if you want to keep the old training data.
Project Layout
For Rasa X to correctly visualize and modify your AI assistant’s data, your project needs to follow the default Rasa Open Source project layout created by rasa init:
Connect a Git Repository
You can connect your Git repository via the Rasa X UI. Rasa X currently only supports the GitHub, GitLab, and Bitbucket git platforms.
note
If you prefer to provide your own SSH keys, please see Integrated Version Control: Connecting a Repository via the API.
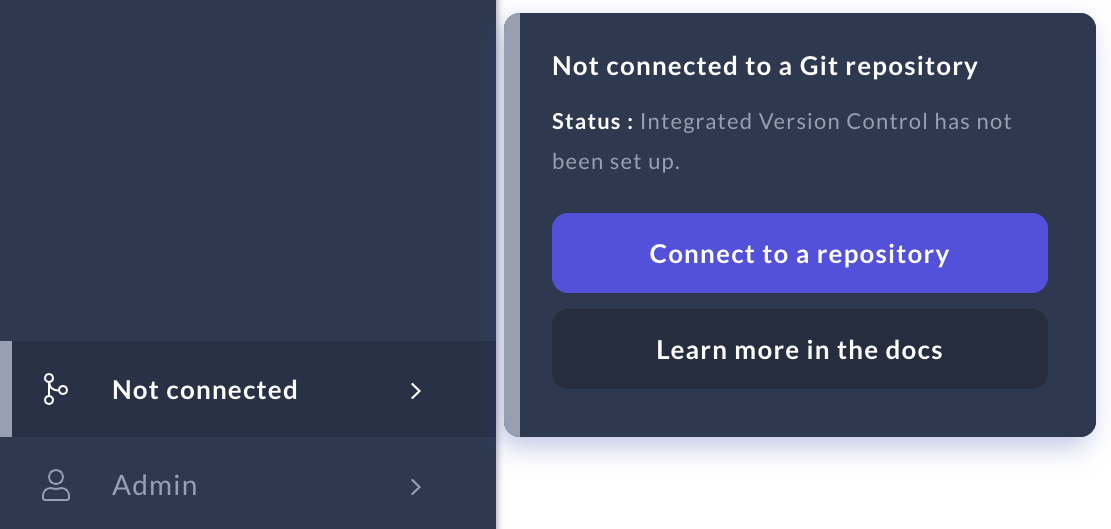
To connect your Git repository, click on the branch icon and click Connect to a repository.
Configure the repository connection.
Rasa X can connect to a git repository via an SSH URL. Rasa Enterprise can connect over either SSH or HTTPS, and supports two-factor authentication for HTTPS connections.
- SSH
- HTTPS (Enterprise only)
Add your SSH URL for repository in the input field.Configure your credentials.
- SSH
- HTTPS (Enterprise only)
Add the provided public SSH key to your Git server. This allows Rasa X to authenticate with the Git server using its private SSH key. Please make sure to only give the key access to one specific repository instead of giving it global access to all of your Git repositories. For instructions specific to your Git platform, see below.
GitHub:
Add the generated public SSH key as aDeploy keyto your GitHub repository. See the GitHub docs for more information on how to do so.
GitLab:
Add the generated public SSH key as aDeploy keyto your GitLab repository. See the GitLab docs for more information on how to do so.
Bitbucket:
Add the generated public SSH key as anAccess keyto your Bitbucket repository. See the Bitbucket docs for more information on how to do so.Configure the repository branch.
Target branch: The target branch is the branch that Rasa X will:
Use to show the initial data.
Branch off from when you make new changes.
Return to after you discard or push changes.
By default users can choose if they want to push their changes directly to the target branch or to a new branch. If they want to disable pushing changes directly to the target branch, select Require users to add changes to a new branch.
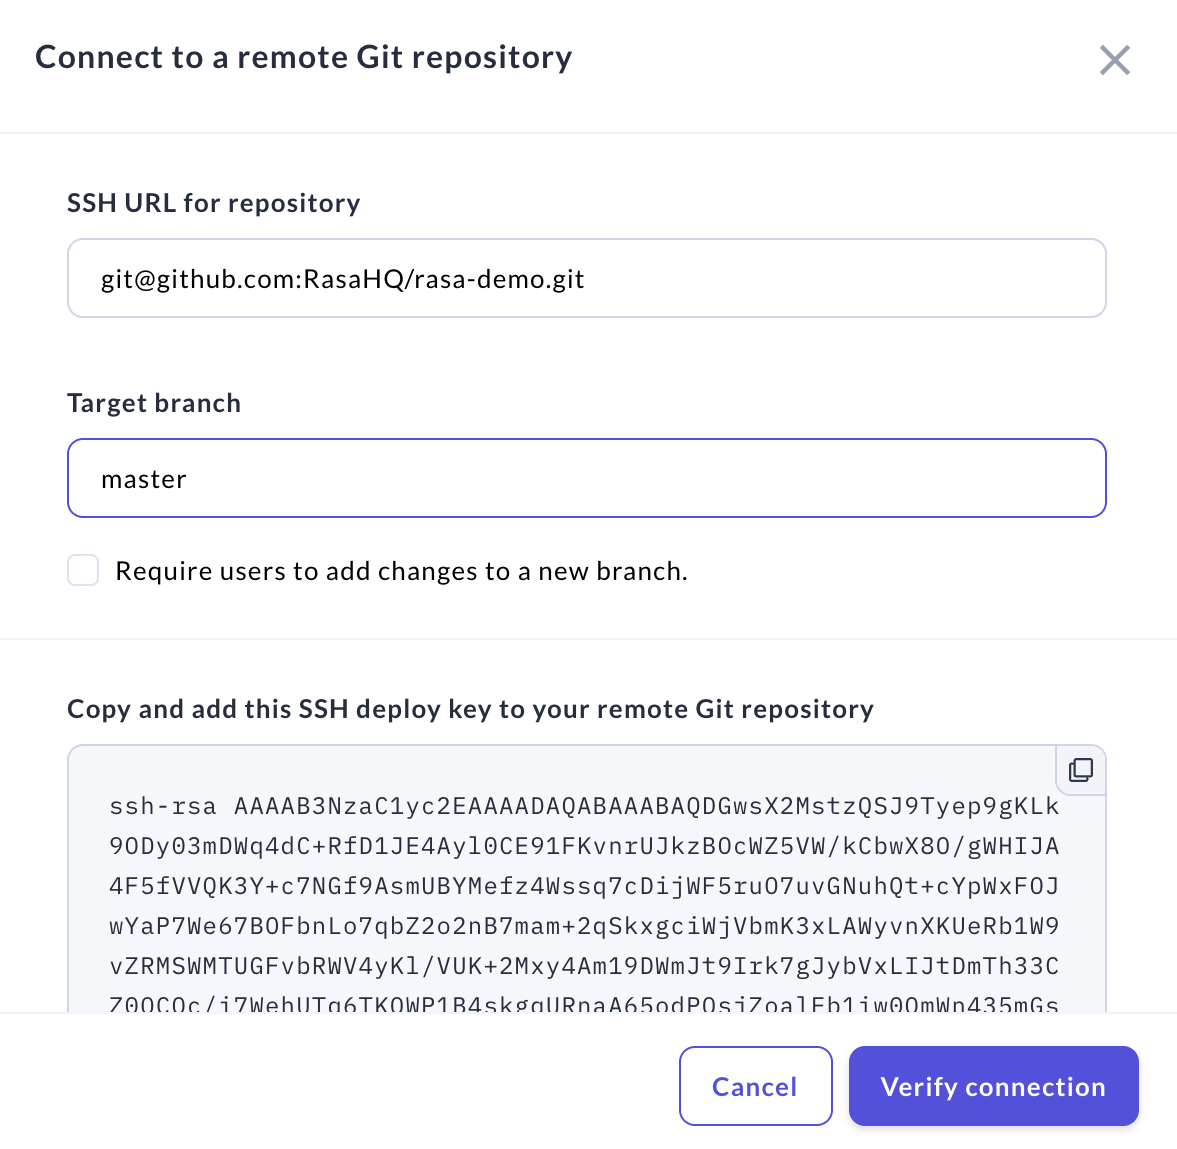
Once you have configured the repository credentials and the branch options, hit the
Verify Connectionbutton. Rasa X will now show that it is connected to your repository.