Deployment Environments
Rasa Enterprise Feature
Ready for Rasa Enterprise? Schedule a technical demo ->
Architecture
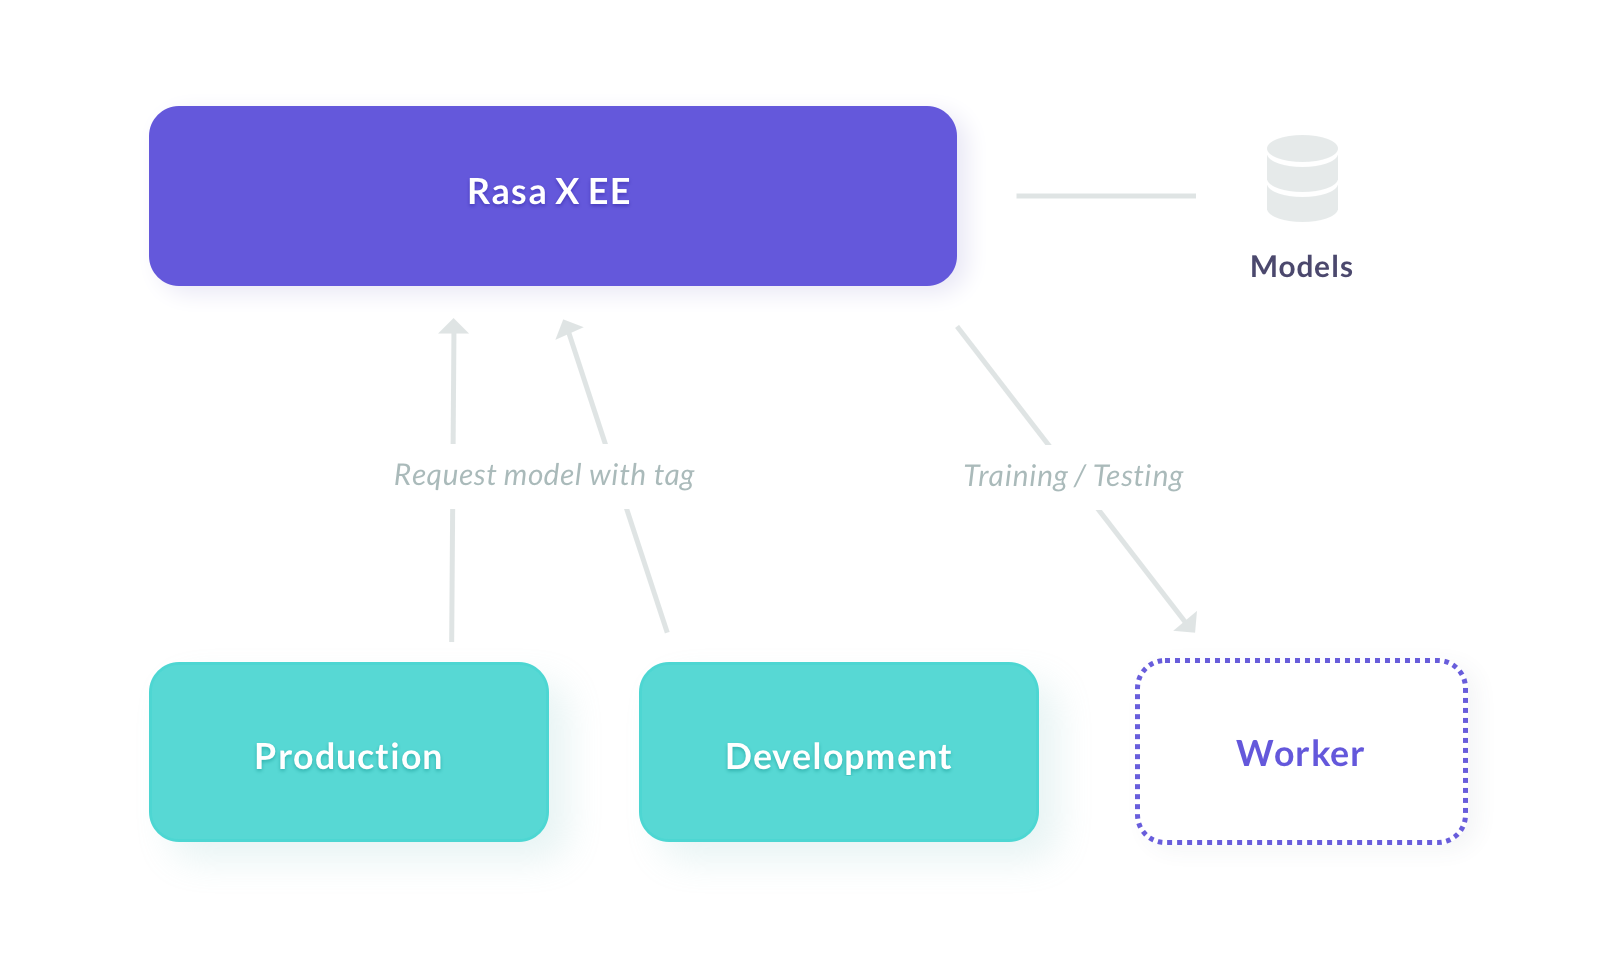
Rasa Enterprise allows multiple versions of an assistant to be run simultaneously. By default, two environments are defined:
productionworker

Each environment corresponds to a Rasa Open Source server which
uses the model with the corresponding tag (e.g. production).
Model training always happens on the worker instances to ensure the training does not
degrade performance of the bot itself.
A model can be given multiple environment tags, but each environment can only have
a single model associated with it. If model A is tagged development and you promote
it to production, the model will now have two tags, and the two environments will
use the same model. This ensures that you can promote a model to an environment
without affecting any others.
The name and number of environments can be customized when deploying Rasa Enterprise.
Workflow
note
This workflow assumes, you already added an additional deployment environment called development.
If you are only running the production and no development environment,
you can follow the guide in the next section which explains how to add a new
environment.
- The first step is to move a trained model into the
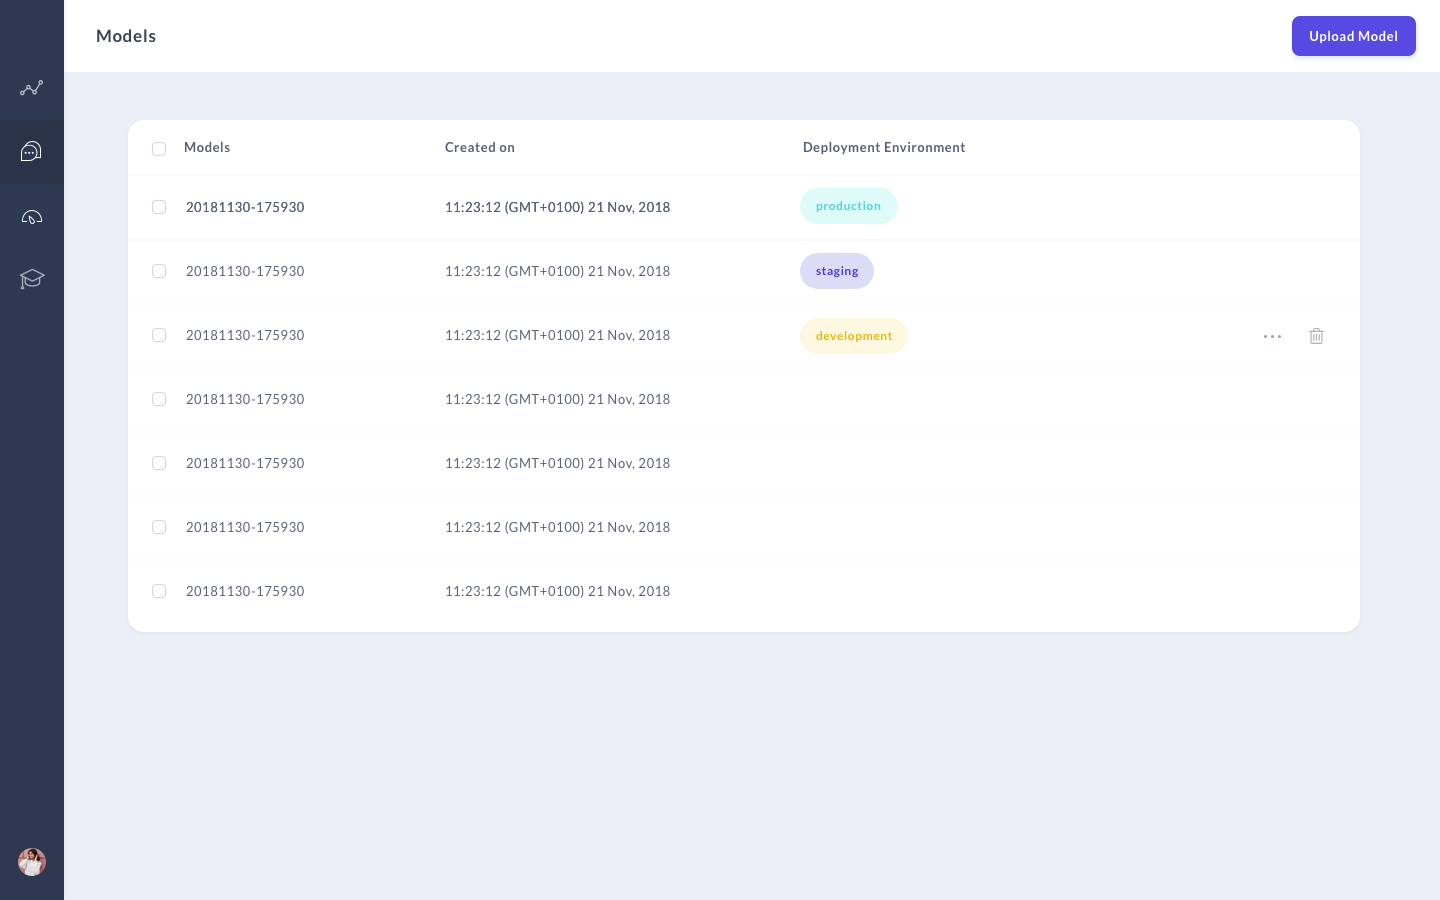
developmentenvironment. To do this, first navigate to the models view. Hover over a model, and click the three dots menu which appears on the table row. Now you can select thedevelopmentenvironment and click ‘Save’.

This model will now be used when you select the development environment in the Share your Bot link generation screen.
- Now that your model is running in the development environment, you can do some testing. Navigate to the Conversations screen, open the ‘Share your Assistant’ options and select ‘development’ from the environments dropdown.
- If you make any improvements, like adding more training data or updating the response templates, you need to use the ‘train’ button to create a new model and promote that model to development.
- Once you are satisfied with your model’s performance, repeat step 1 but instead
selecting the
productionenvironment.
note
By default, only the admin role has the permission to modify the
production environment. You can customize this in Role-Based Access Control
Customizing Deployment Environments
An additional Rasa Open Source server must first be created before it can be made available to Rasa Enterprise. Once it is available, you can add it as a deployment environment to Rasa Enterprise in the user interface on the Models screen.
Starting Additional Rasa Servers
Any Rasa Open Source deployment can be configured as a deployment environment given the correct settings and credentials. Please follow the instructions for connecting an existing deployment via the event broker to set up event forwarding from your Rasa Open Source server to Rasa Enterprise.
note
If the event broker for your Rasa Open Source server is not configured correctly,
your deployment environment will still receive and respond to messages sent to it.
However, you will not be able to see the bots responses in the Rasa Enterprise
Share your Assistant and Talk to your Bot screens.
In addition to correctly configuring the event broker, the following settings are required for a Rasa Open Soure server to act as a deployment environment:
- The environment variable
RASA_ENVIRONMENTmust be set to the name of the environment e.g. before running the server:
This value must match the target model tag and the name specified in the UI when adding the deployment environment.
- The model server URL must point to the
target model endpoint of your Rasa Enterprise deployment. The URL should be in the format
<Rasa-Enterprise-Base-URL>/api/projects/default/models/tags/<target-model-tag>For example:
RASA_X_TOKEN refers to the environment variable set in your Rasa Enterprise deployment.
- The
rasachannel credentials must point to your Rasa Enterprise deployment.
- The server must be secured with an authentication token. You will need to provide this token to Rasa Enterprise when you add the server as a deployment environment. For example, in the startup command for your Rasa Open Source server:
Configuring Deployment Environments in the UI
Once you have started and configured a Rasa Open Source server, you can add it as a deployment environment in the Rasa Enterprise UI.
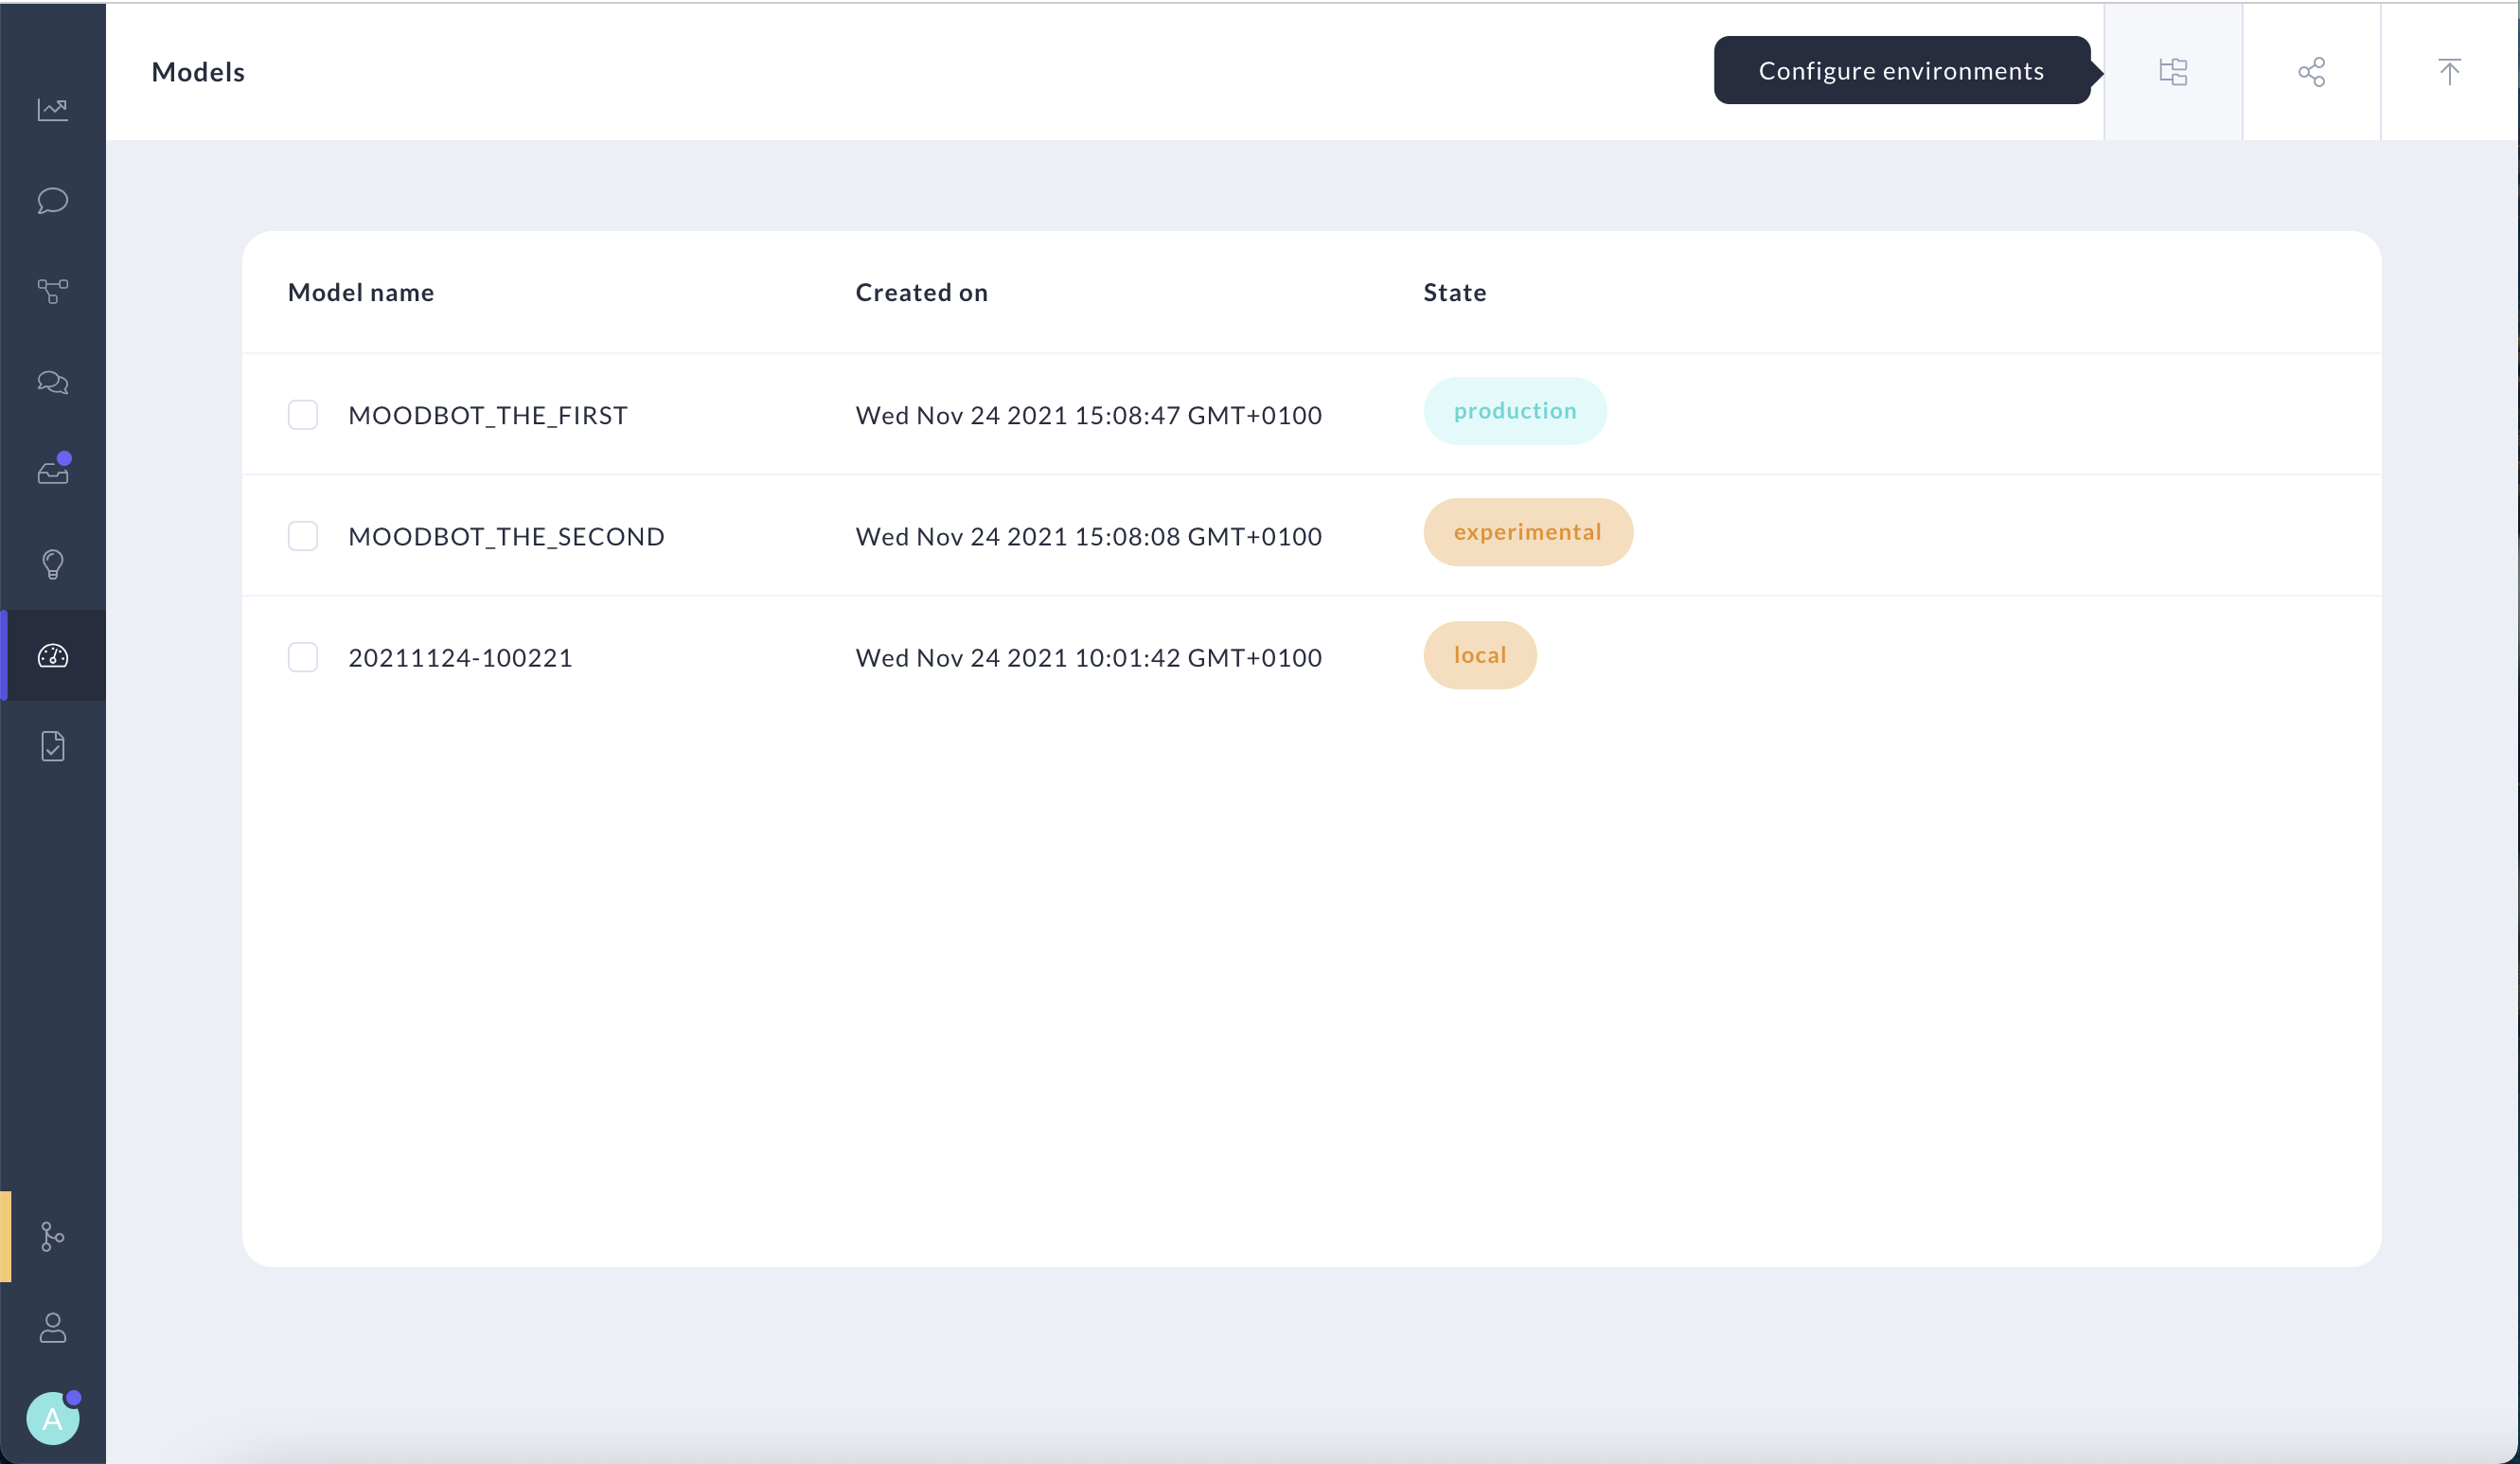
On the models screen, go to Configure Environments:

If you are editing an existing environment, hover over the environment and choose "Edit".
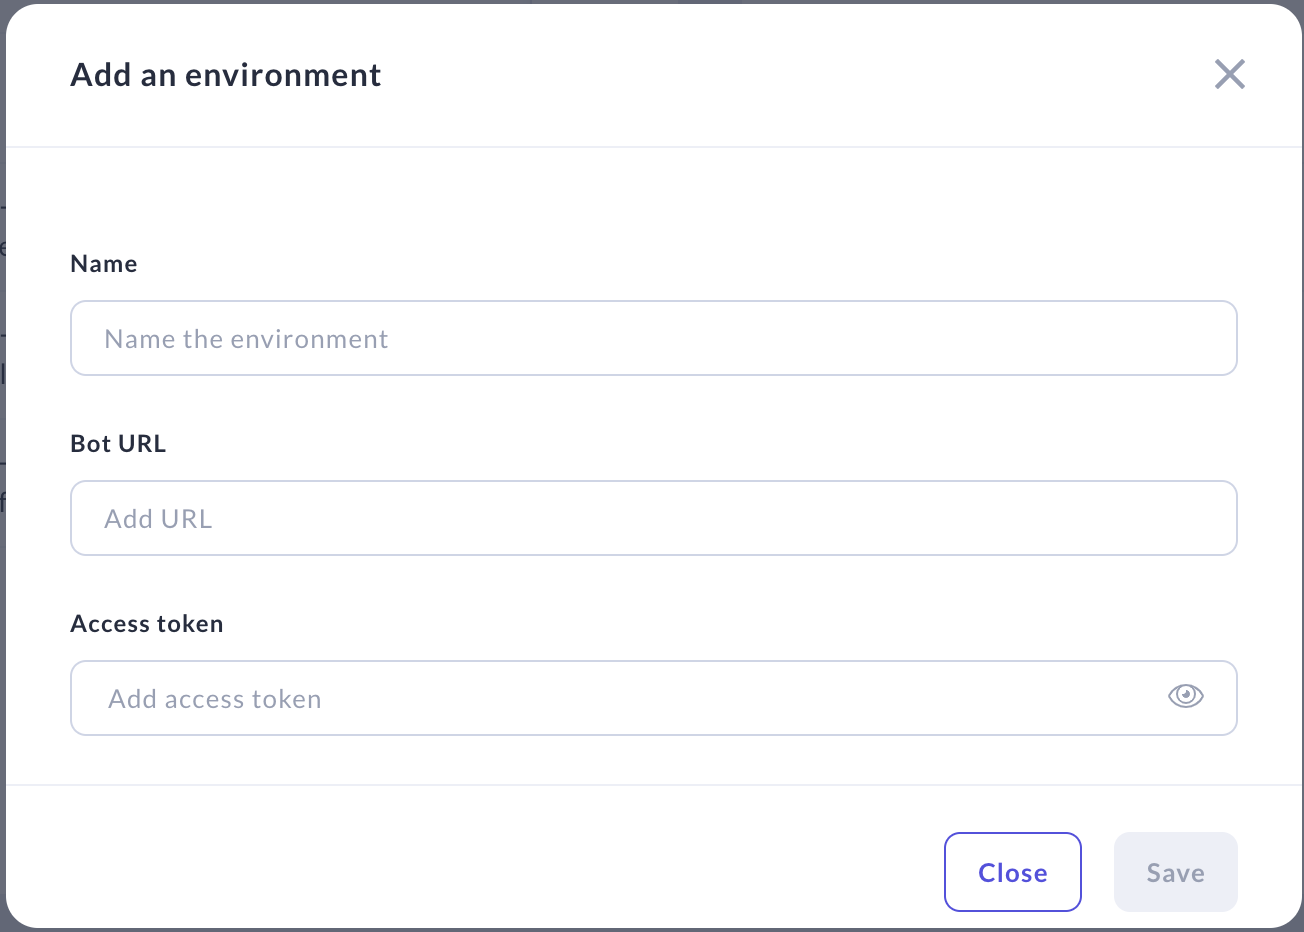
If you are adding a new environment, choose Add an Environment:

Add the environment name, url, and authentication token for the Rasa Open Source server the environment should point to.
The url field should be set to the base address of the Rasa Open Source server.
note
The name field of a deployment environment must match the value of the RASA_ENVIRONMENT environment variable
in the target Rasa Open Source Server.
